
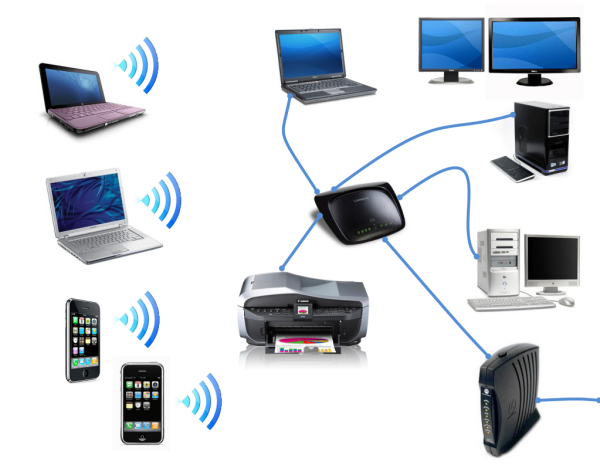
Creating a secure home network is very important. There are many ways to set up a wireless network in your home.
Method 1
-
Step 1
The first step is to acquire and install the router. You need to consider certain factors to determine which router is best for your needs.
- The main consideration is the range between the router and the devices to be connected wirelessly. Generally, the more costly routers have a greater connectivity, allowing devices to be connected at a wider distance.
- Another aspect you need to consider is interference of signals. Many homes have high-powered devices like refrigerators and microwaves that can cause interruptions in the wireless signals. The new routers can operate at a capacity higher than most home appliances, which makes the network less crowded and therefore less likely to suffer from signal interferences.
- You also need to consider the transfer speed. New routers can transfer data at a speed of 450 Mbps. This helps in transferring data between computers on the same network, but it does not enhance the general speed of the Internet. This is controlled by the respective ISP. A good internet speed is impossible to attain unless the room is completely free from interference-causing devices.
- Lastly, it is important to ensure your router is fitted with WPA2, the latest wireless encryption software. Most new routers are pre-fitted with this encryption software, but you should consider this aspect when buying an older or second-hand router.
-
Step 2
Once you have a suitable router, the next step is to attach the router to the modem. The router has a slot labelled “WAN/ WLAN/ Internet.” Using an Ethernet cable, connect the router port to the modem. Take care that the router has been properly set and powered on.
-
Step 3
The last step is to connect the computer to the network through an Ethernet cable. Using a cable will allow you to better adjust the Wi-Fi settings while simultaneously maintaining the router connection.
Method 2
-
Step 1
If your router comes with separate software, the first step is to configure the software. It is recommended to install the software on a computer connected to the router through an Ethernet cable. Using the router software, set a name for the wireless network and the type of security you will be using. WPA2 is the most secure network. Designate a password for the network. Your internet settings will be automatically detect by most router software.
-
Step 2
If the router does not have installation software, you can use your web browser to connect to the router’s setup page. Use the enclosed documents to find the correct web address. You will typically be asked to create a username and password before the configuration process.
-
Step 3
The next step is to enter Internet connection details such the IP address. With most browsers, this information will be entered automatically. If not, contact your service provider for the required information.
-
Step 4
Next, you have to set up the wireless settings. With most routers, you can directly configure wireless settings. The router’s menu allows you to enable and disable Wi-Fi signals, set encryption and modify the network name.
-
Step 5
Once you have set the wireless settings, the next step is to apply these settings. Click the “Apply and Save Changes” icon once you have made the required changes. The amended changes will be implemented after a few moments.
Alex McGregor is a software analyst who specialises in IT. He has spent many years researching and inventing new technologies and software. Click here to know more about IT support.