
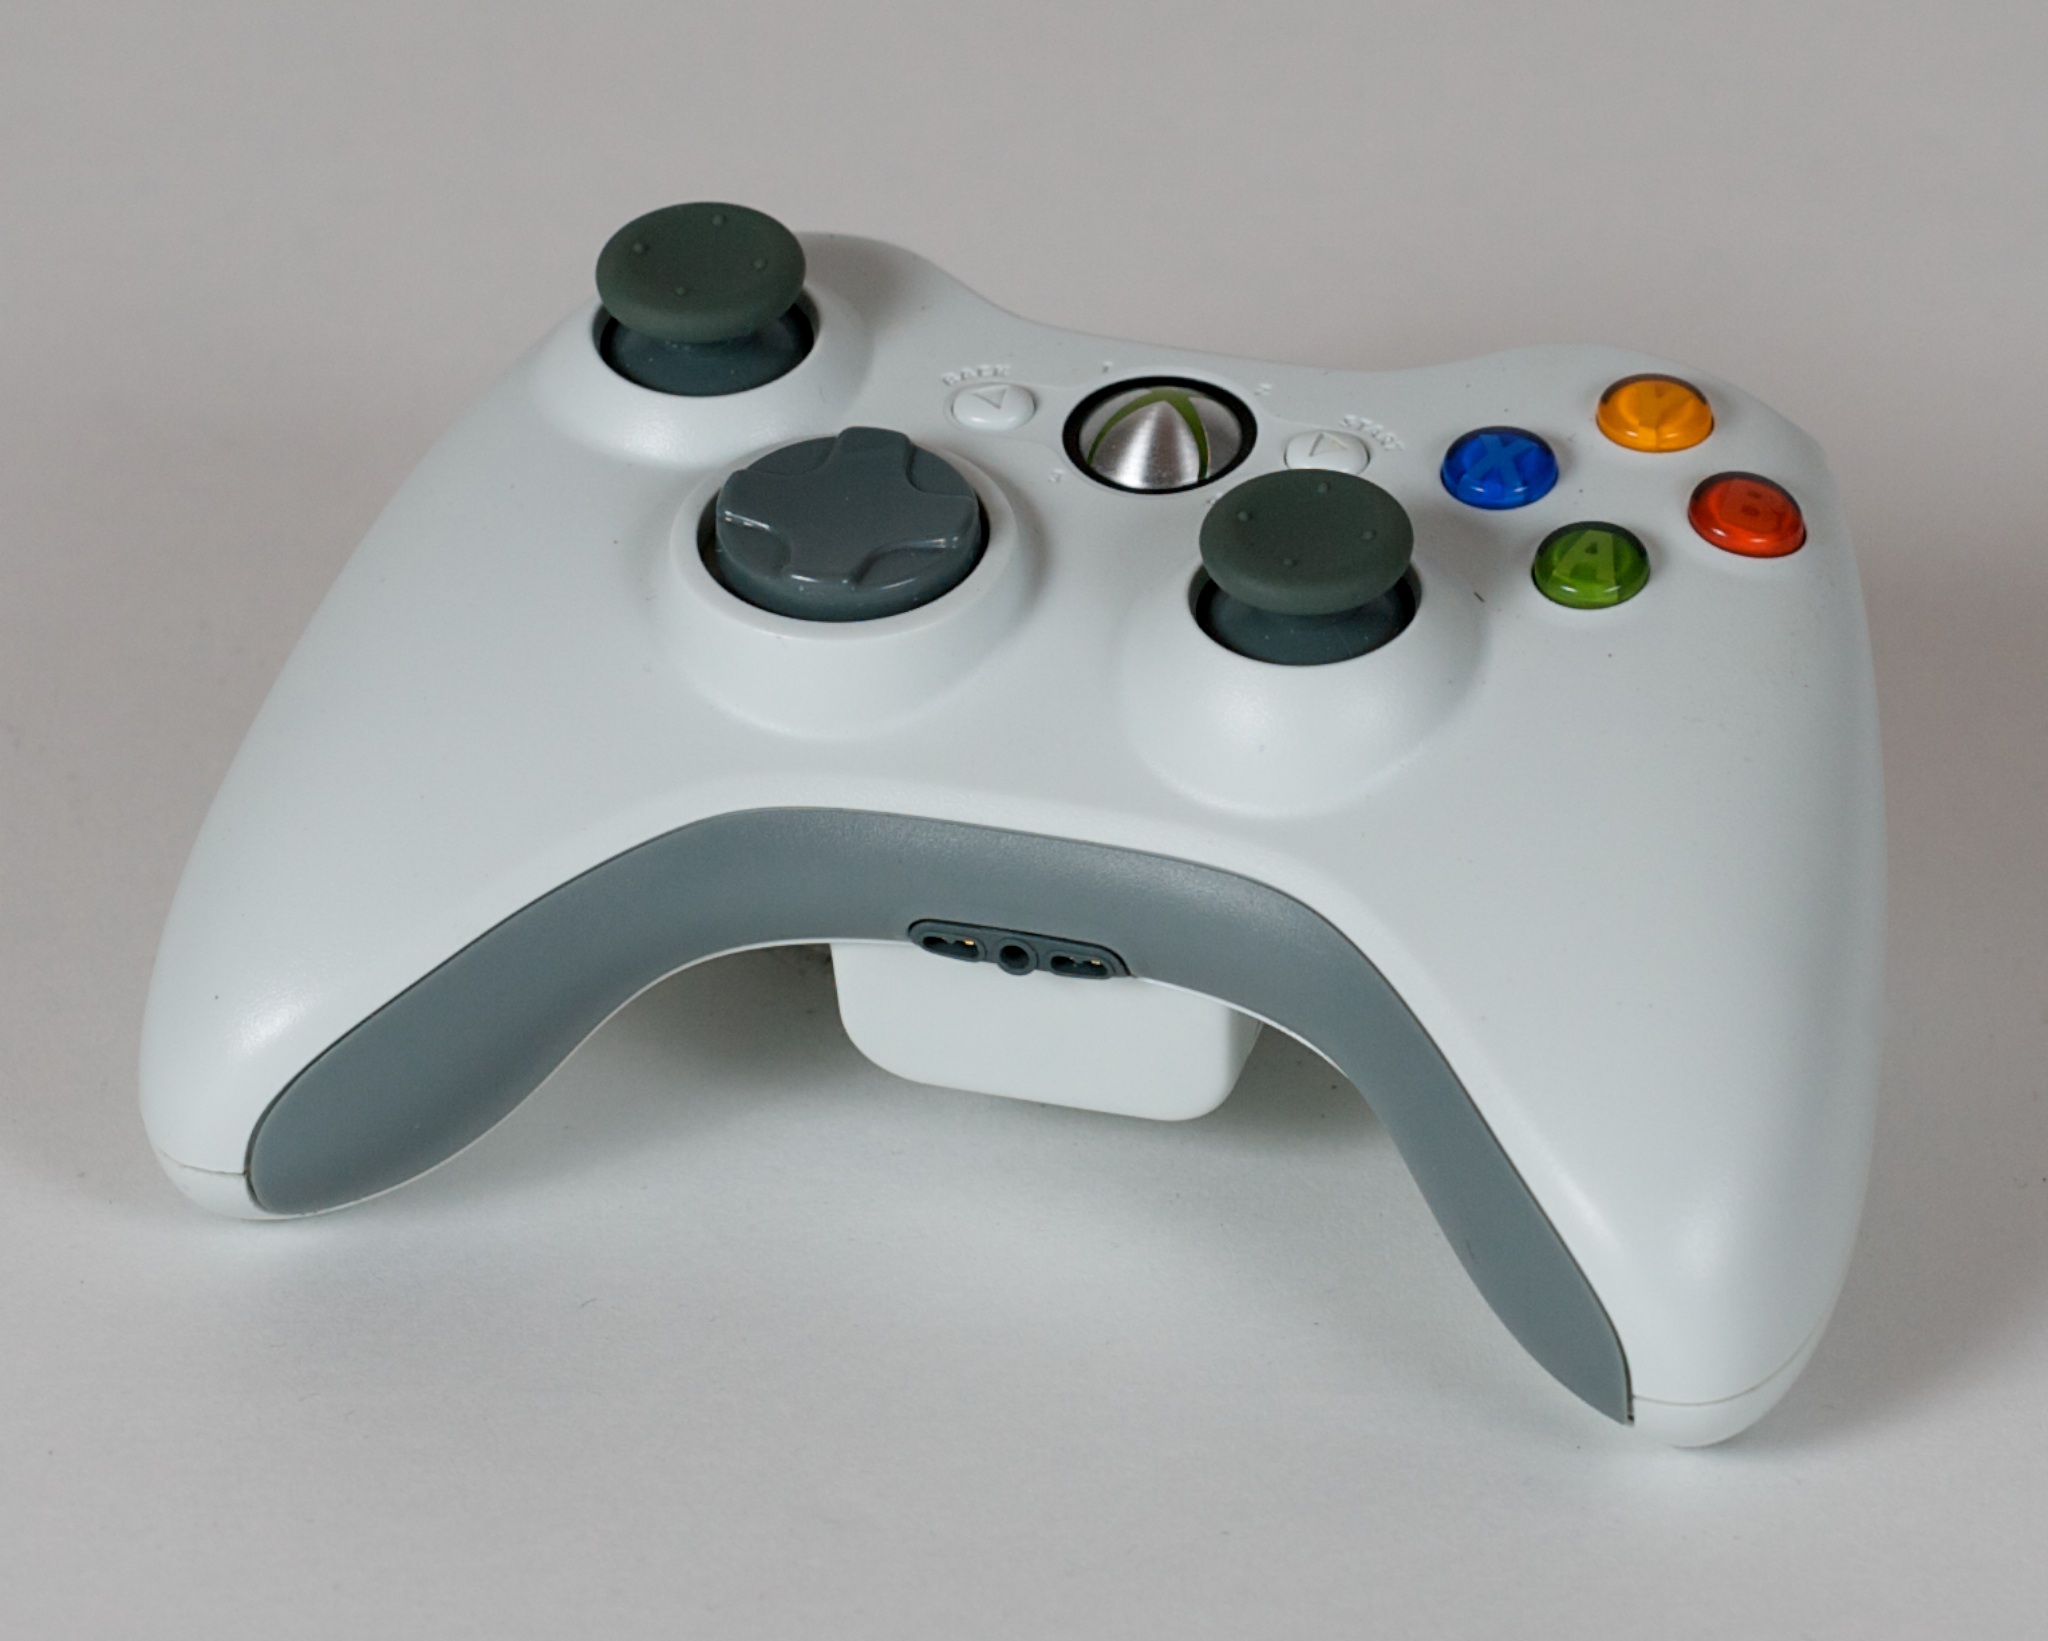
The gaming experience has evolved with the ever-changing technology. Since a large group of people prefer playing games on their tablets, computers, play stations and so on, there has always been constant development in this field. One of the developments that have significantly affected the experience of players is the Xbox 360 Controller. It was introduced in 2005, as a primary controller for Microsoft’s Xbox 360 console. It is compatible with all kinds of gadgets you use to play games, and is available in both wired, as well as wireless versions.
However, if you already own a modded Xbox 360 controller and looking to add some unique features in it, then you have landed to the right article. In this article, we will tell you the step by step procedure to install bullet button and shotgun D-pad mod in your controller. You need not worry if you are not an expert. This is not at all difficult and you will not need an expert or professional. You can simply do it on your own by following the below mentioned steps.

All you need is to replace the standard AB-XY buttons with original nickel plated 9mm shell casings and your D-pad. It will provide your controller a customized unique look that you can also show off among your friends.
How to Install Bullet Buttons and Shotgun D-Pad in Xbox 360 controller
? Take a good quality screwdriver to remove the 7 screws fixed at the bottom of the controller shell. Once you are done with removing the case, keep all the screws separately in a safe place. To make sure you do not lose any of it, keep the screws on the shell case of the controller you have just removed.
? Now, you will have to separate the mainboard of thecontroller that is placed just below the shell. To do so, hold the controller with both hands with the mainboard facing upwards or ask someone to do it for you and press the thumbsticks. Again, set aside the mainboard carefully and make sure it does not get damaged by any means.
? After replacing the mainboard, it is time to remove the rubber mats covering the buttons and the D-pad.
? Now carefully remove the AB-XY buttons with a help of a small screwdriver to unscrew the two screws securing the D-pad. Press the clips to release the D-pad back plate.
? Take the set of nickel plated 9mm bullet buttons and locate them into their appropriate locations in the controller shell. Now, insert the shotgun D-pad from the front side of the controller shell into the back plate and secure them with the two screws you removed in the last step.
? Put back the rubber mats on the buttons and make sure that they lay flat on the shell. Fix the main board of the modded Xbox 360 controller shell, followed by the bottom shell. Screw all the seven screws to fix the bottom panel and you are done. If you feel that the buttons have become hard, then the problem is with the placement of rubber mat. In this case, you will have to again remove the controller shell and fix the rubber mat correctly.